

If you have drainage problems in your landscape, here are step-by-step instructions on how to install a French drain.
Drainage problems in your yard or on your acreage property can be bothersome—and sometimes dangerous. If you have drainage problems in the landscape, then you’ll want to learn how to install a French drain.
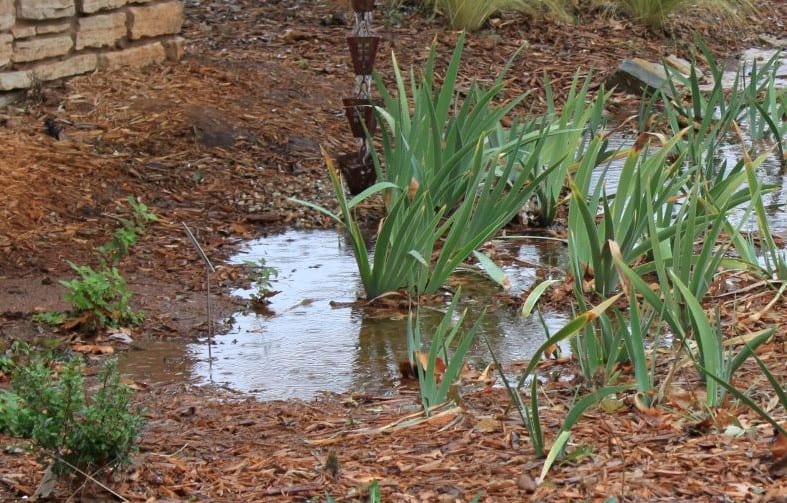
Does water puddle around your foundation after a rain? Or perhaps standing water covers your walkway or patio. Drainage problems can lead to more serious damage to house foundations or pavement. Fortunately, it is easy to redirect water. We’ll teach you how to install a French drain and protect your home and landscape from water damage.
What is a French Drain?
A French drain might sound fancy. But it’s a simple solution to move water from a problem area to a more desirable location. The drain itself is nothing more than a narrow trench lined with gravel and fitted with pipe to move water.
One common application of a French drain is along the foundation of a house to prevent basement flooding. In the landscape, French drains are commonly placed at the base of retaining walls. They are also a great way to deal with standing water along the edge of pools and patios. Water moved through a French drain is released somewhere else in the landscape, often a swale or rain garden.
How to Install a French Drain: Materials Needed
While you can dig your French drain with a shovel, it might be a good idea to rent a trencher. This is especially true if you have a long way to dig. For the project pictured here, the portions of the trench inside the fenced courtyard were dug by hand. The portions outside the courtyard were dug using a walk-behind trencher. When using a trencher, be cautious around tree roots, foundations, and poured concrete. Read about trencher safety before using this type of machinery.
You will need the following tools and materials to install your French drain. Instructions on calculating the amounts of materials to purchase are found in the steps below. NOTE: We have included links below to buy available materials and tools on Amazon. HG&H receives a small commission from sales generated by these links (at no cost to you). Thanks for supporting this website!

Materials
- 4-inch corrugated perforated drainage pipe
- Corrugated pipe fabric (optional)
- Landscape fabric
- ¾-inch gravel, clean (no fines)
Tools
- Landscape flags or wooden stakes
- Trencher (optional rental)
- Sharpshooter shovel
- Trenching shovel
- Mattock (if roots or stones are present)
- Garden shovel
- Tape measure
- Digital level
How to Install a French Drain Step 1: Layout and Preparation
The first step in how to install a French drain involves preparation. Determine the path the trench will follow by identifying the starting and ending points of the French drain. A properly installed French drain must have a slight slope dropping away from the problem area. This will allow the slope to carry water to a downhill outlet point. A minimum slope of one inch every eight feet (1% slope) is adequate to keep water moving. But don’t worry if your property slopes more than this.
With the starting and ending points identified, look for a logical path between these two points. Pay attention to large trees and other obstacles. You want to do as little damage the landscape as possible. Mark the path of the trench with landscape flags or wooden stakes. Measure the length of the trench to determine how much drainage pipe and landscape fabric you will need.
Step 2: Check Utilities and Permits
Before you start the project, call 811 or your local “Before-You-Dig” hotline to check for underground utilities. You will also want to check with your local municipal office to see if a permit is needed. Generally, changes made to water flow on your property cannot negatively impact a neighboring property or public area. Confirm your plans with your homeowner’s association, if you have one, as well as any local building or zoning authorities.
How to Install a French Drain Step 3: Dig the Trench
Most of your time will be spent digging the trench. If you have a long way to go, consider renting a trencher. To hand dig, a sharp-shooter shovel is handy. You may also want a trenching shovel to work inside the narrow trench. And keep a mattock handy to pry up any buried stones or chop through roots.
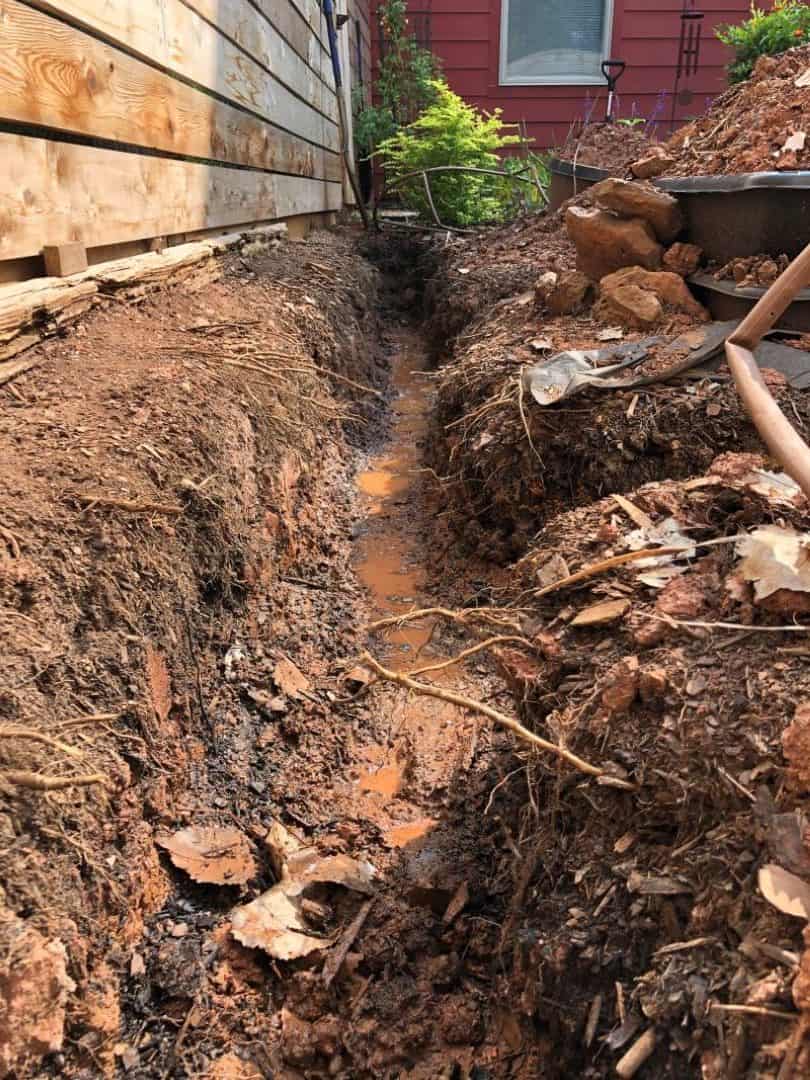
Dig the trench wide enough to accommodate the 4-inch corrugated drainage pipe with space to spare. An extra couple inches on each side for gravel is needed—about 8-10 inches wide in total. The depth of the trench may vary to accommodate slope along the length of the pipe. But strive for 18 inches below grade.
Remember to maintain a slope of 1% along the entire length of the trench. A tape measure and wooden stake come in handy to measure slope. Use the stake to measure the depth of the trench at 4- or 8-foot intervals. This will make sure your trench is sloping correctly.
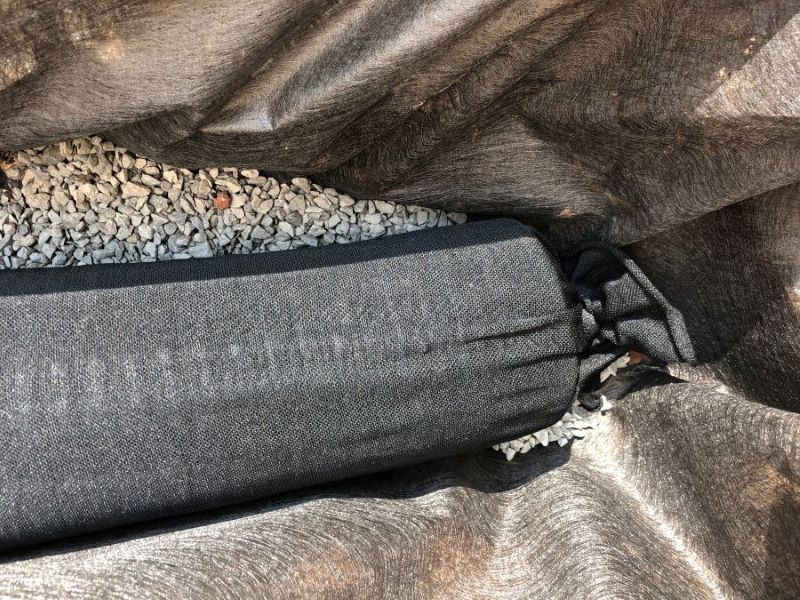
Step 4: Line the Trench with Landscape Fabric
Line your finished trench with landscape fabric. The fabric will keep the gravel in place, and it also keeps dirt and debris out of the pipe. Lay the landscape fabric so that it covers the bottom and sides of the trench. You will eventually wrap the remaining fabric over the top of the pipe once it is laid.
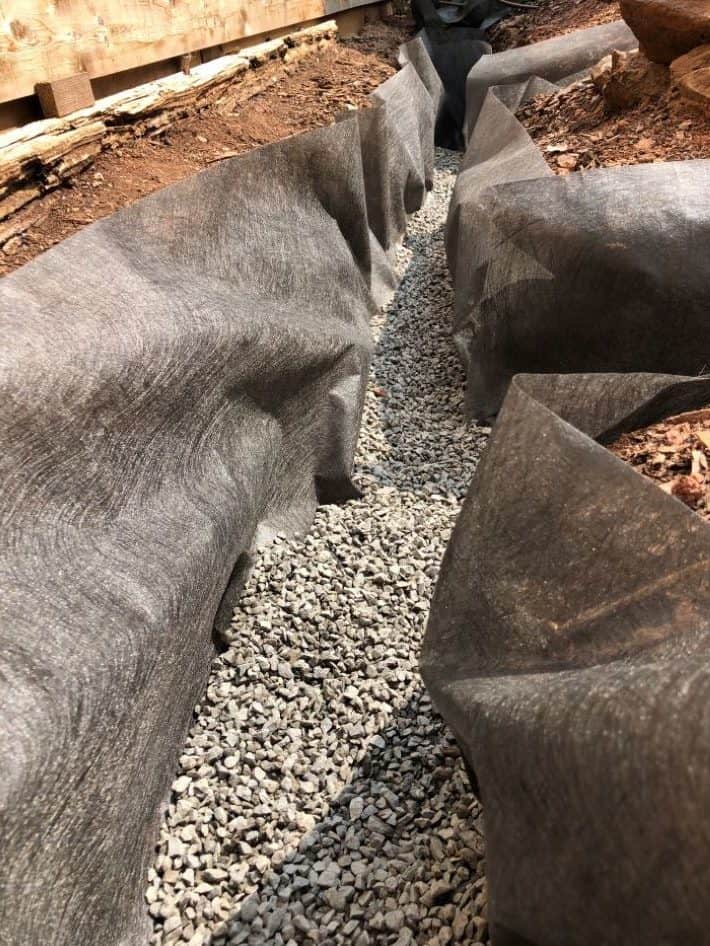
How to Install a French Drain Step 5: Add a Layer of Gravel
With the fabric in place, pour a layer of gravel along the entire length of the trench about 2-3 inches deep. Remember to maintain your slope as you work. The gravel will allow you to make small adjustments to the slope of the pipe. The pore spaces in the gravel also provide an additional path for water to drain.
Use ¾-inch gravel that is clean, which means it has no fines (dust and small particles). You will need approximately 3 cubic feet of gravel for every 8 feet of trench.
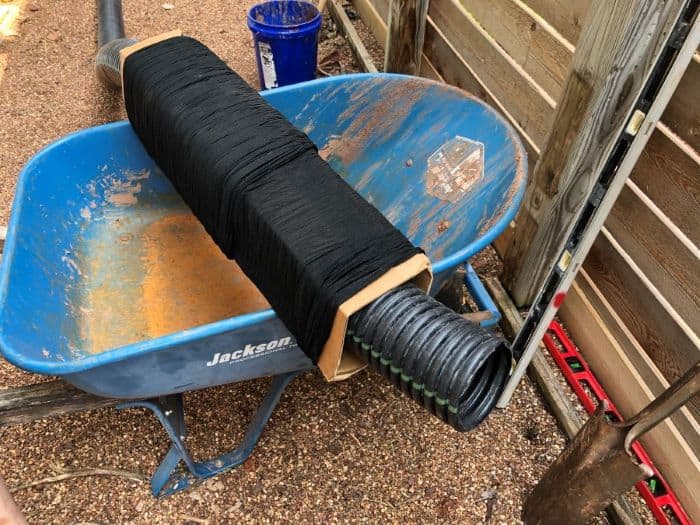
Step 6: Lay the Drainage Pipe
You may choose to wrap the corrugated drainage pipe in pipe fabric (sometimes called a pipe sock) before installing. Pipe fabric helps keep the pipe free of dirt and other debris, extending the functional time of your drainage system. Pre-wrapped pipe is available, but often more expensive than purchasing the fabric separately and covering the drainage pipe yourself. Select a pipe sock with an easy-loading device, such as Drain-Sleeve, to make the job much simpler. Make sure to purchase a sleeve for 4-inch diameter piping.
Once you’ve laid the drainage pipe in the trench, use the wooden stake to measure the slope of the pipe once again. You can also use a bubble level to identify flat areas. If a portion of the drainage pipe is too flat or level, adjust the gravel bed beneath the pipe to create the desired slope.
Step 7: Check the Drainage
It is a good idea to run water through the system using a garden hose to make sure it is flowing properly. If water does not drain through properly, adjust the slope of the pipe and test again.
How to Install a French Drain Step 8: Cover the Pipe
Once you are confident the system is working, add another layer of gravel along the sides and top of the pipe. Make sure the pipe is covered by 2-3 inches of gravel. Then wrap the landscape fabric around the whole thing, gravel and all, and backfill with soil to reach grade.

You will have extra soil but keep some of this on hand. Add more soil as needed when the backfill settles.
How to Install a French Drain Step 9: Finishing Up
Your project of how to install a French drain is almost complete. There are two options to select from when deciding how to release the water from your French drain. You can simply cut the drainage pipe to match the existing slope of the lawn. Or, you can use a pop-up emitter to release the water.
If the drain outlet is inside a rain garden or other planting bed, it is a good idea to place stone at the outlet to prevent soil from washing away during heavy rainfall events. Or, connect the outlet to a rain barrel or other water storage structure to store the runoff for later use.
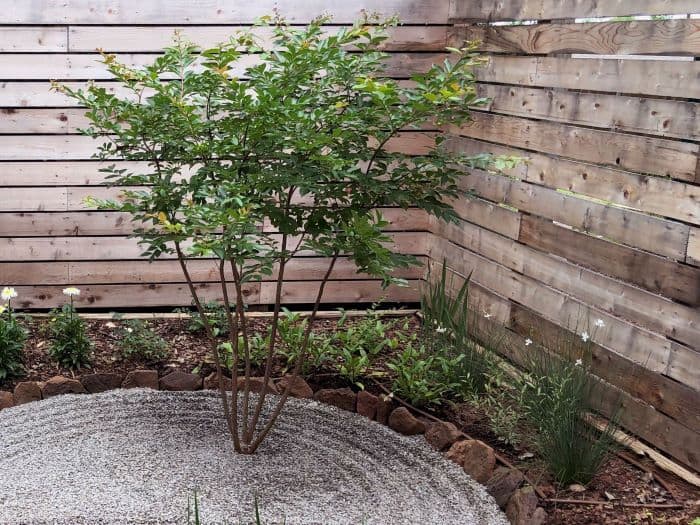
Construction is now complete. Now, decide how to finish the area above and around it. You can replant turfgrasses, annual flowers, bulbs, or perennials above the drainage. But be careful when digging in this area in the future. It is easy to forget the drain is there!
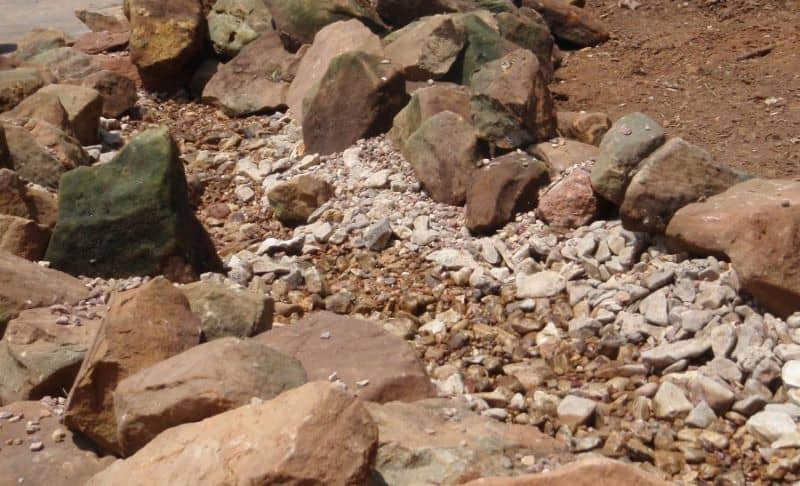
Another option is to finish the surface of the French drain with decorative stone to create a dry creek bed. In this case, you will want to backfill the trench with more gravel instead of soil. However, you choose to finish it, the French drain will virtually disappear into the landscape. And so will your drainage problems.
Thank you for explaining that a common reason to use a French drain is to prevent basement flooding. I’ve been wondering if there was a solution to our basement flooding during the rainy season. I don’t know if we had considered this, but it seems like it could be a good idea to try it out.